You don't have to be wealthy to outfit your pottery studio with slump molds. If you have a supply of slump molds you can increase your repertoire of pottery shapes especially if you primarily hand build. Slump molds come in a variety of shapes. I purchased most of my slump molds for a song, so to speak, at thrift stores, flea markets, and garage sales. Most of the molds cost less than a dollar. Above is a platter I've slumped on a wood tray.
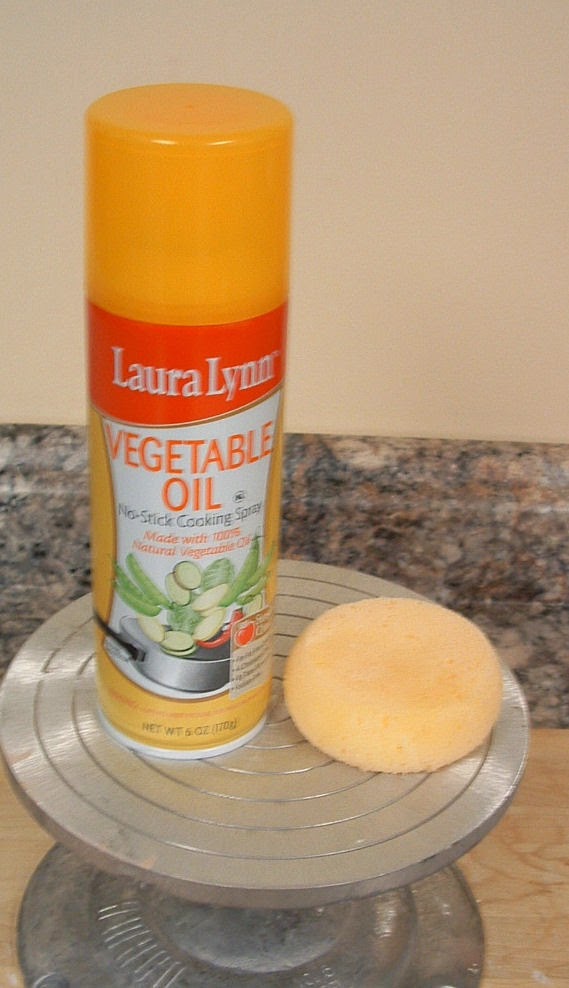
When I look for slump molds I try to find molds with gently sloping sides and smooth interiors. I particularly like wooden bowls because the clay doesn't stick to wood as much as it can with plastic molds. For both plastic or wood molds I spray the interior of the mold with vegetable spray to aid in the release of the clay piece once it firms up. I usually spray a paper towel with the spray and wipe the interior with the moistened towel.
When draping your clay slab into the mold you can pick it up with two wood rulers to minimize hand prints at the edges of the slab. I use my hands but I saw that tip somewhere but I've yet to try it. If the slab is slightly larger than the mold I cut that portion off and if there are any finger depressions they are cut off.
Once you place the clay slab over the mold gently ease the clay slab to fit the interior of the mold by using a small dry smooth sponge, pressing from the bottom to the top and around the sides to be sure the slab is touching the slump mold. Using the dry sponge prevents finger depressions in the clay.
I like to leave the clay piece in the mold till it's good and dry. Some of the smooth bottomed molds can also be used as hump molds but using a hump mold is trickier because the clay shrinks and it may crack it you leave it on the mold too long.
Here's a triple condiment dish I made years ago. The mold I used had a straight rim but I cut the edges over large in a curvy shape which incorporated handles on the end, and propped the overlapping edges with pieces of toilet paper rolls to hold them up while the piece dried. I think brightly colored condiments would look great in this dish.
Here's a round wood bowl slump mold with a clay bowl where I've modified the edges. When the clay was wet I propped up the undersides with paper towels to be sure the rim didn't make a depression in the clay. Once the bowl is dry I'll take it out of the slump mold and clean up the edges.
Here's a wood bowl with curves in the interior; I gently pressed the clay slab to conform to the shape. Keep your eyes open you never know what you might find that can be used as a slump mold. Thanks for reading and for all your comments.


Thanks Linda
ReplyDeleteNice tutorial.
ReplyDeleteA simple procedure but oh my, it can get into lots of problems, which you've well advised us how to avoid. Thanks.
ReplyDeleteThrift stores are great for pottery supplies.
ReplyDeleteI pined this article to my pottery making techniques board.
Very interesting.
ReplyDeleteFascinating. Thank you so much - I love getting the maker's perspective on work I have long loved - from the other side.
ReplyDeleteI appreciate you sharing your technique...it is interesting.
ReplyDeleteHi Dennis, thanks, hope some can benefit from what I've learned.
ReplyDeleteHi Melissa, thanks, hope my tips help.
Hi Barbara, thanks, I've had many failures over the years thats for sure.
Hi Gigi, thanks, not as easy as it looks.
Hi Elephant's Child, thanks, oh the myriad of processes we have to make pottery.
Hi Dee, thanks, it's just one of many steps to hopefully get a good pot.
some great tips :)
ReplyDeleteHi Anna, thanks, took me years to figure some of them out and still have a few mishaps. ha.
ReplyDelete